


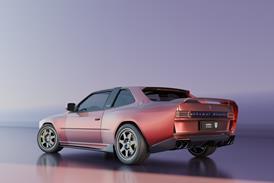


Once the color for the paint has been assigned, it can be customized in various ways. Select the desired part then press Ctrl + M, which will open the Material Properties window.
Here you will see various options that allow you to customize the Color, Highlight, Reflectivity, Transparency and Light Settings. Most of these are self-explanatory and you will understand their application by experimenting a few times.


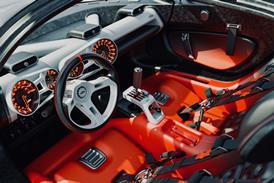
You can either apply a Fabric or Leather texture to the convertible roof.
Click and select the surface for the roof. Press ‘M' to open the Showcase Materials library and scroll down to Fabric. Now select either Fabric or Leather. In this case, we have opted for Fabric.
The material will be applied to the surface. You may notice an over-saturated highlight, making it almost impossible to view the texture. We need to customize it.
Rotate the box if the need be, so that the texture is evenly positioned across the surface. Click Stop Moving once finished. You will see that the texture now appears very real.
You can click on the color tab and use the Palette to change to any color that you like.

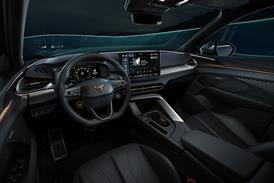
Showcase allows the option of creating different material alternatives for your model. These can be created using the full range of materials available in Showcase. For example, you may want to view a car model with different color options or interior trims.
Press 'A' to open the Alternatives library. In the library go to Create > New Material Lineup.
Now select the part with the material that you want to add to the line up. Make sure you right click and select All Objects with this Material to ensure that all parts are selected.
Now right click on the new alternative and click 'Add Selection To'.
The selected material will now be assigned to this alternative.

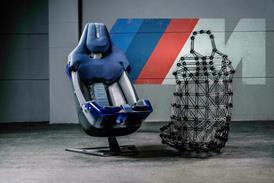
If you like viewing your model from certain angles, you can set a ‘Shot' for each view.
Press 'T' to open the Shots Library. Now Toggle the model into a view/position that you like and press Ctrl + T to take a shot
The Shot you have created will be saved in the Shots Library. You also have the flexibility of viewing your model with different alternatives for each shot.
You can now toggle the model between views and create new shots for each view. Each shot will be saved in the Shots library.

Most of these shortcuts are covered in the 'full' manual provided at Majenta Academy. Some have also been mentioned in the drop-down windows in Showcase.

How to Prepare an Interior and Showcase with Raytracing manuals.
More educational resources on Car Design News:
![]() Design Tutorials
Design Tutorials
![]() Create your online Design Portfolio
Create your online Design Portfolio
![]() Our coverage of Design School graduation shows and projects
Our coverage of Design School graduation shows and projects